For iPhone users, the device is more than just a phone. This mobile device comes in very handy at work for communication or completing tasks, and for students who need to access information and handle assignments or relevant projects.
Owing to this, it can be quite unnerving when you see an "iPhone disabled, connect to iTunes" error message. A disabled iPhone bars you from accessing your phone applications or making any use of the device itself. It gets worse when you have deadlines to complete a task, need to send an urgent message, or communicate information urgently.
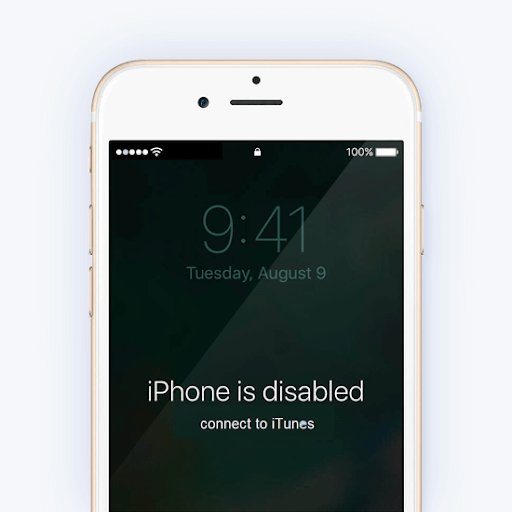
If you are here to find out how to fix disabled iPhone, look no further. There are quick solutions to resolving this issue. With the aid of iCloud or iTunes on your personal computer, you can clear the error message and restore your phone. But here in this article, you'll know how to fix disabled iPhone without iTunes.
Part 1. Why is My iPhone Disabled?
The error message "iPhone is disabled, connect to iTunes" appears after several unsuccessful attempts to log in using a wrong passcode. If you or anyone else attempts to login in with a wrong passcode amounting to five times, your phone automatically gets disabled for a few minutes, but if the wrong attempt reaches a tenth time, the disabled message remains permanently, forcing you to restore the device.
This is a security strategy of Apple to prevent a breach in security and keep your data and device safe from Intruders.
Part 2. How to Fix Disabled iPhone With/Without iTunes
1. Erase Your iPhone via iCloud to Fix Disabled iPhone
If you would like to fix your disabled iPhone without iTunes, you have the option of using iCloud to restore Your device by simply following this guide:
- 1 On your PC, open iCloud in your preferred browser.
- 2 Log into your iCloud account with your Apple ID and password.
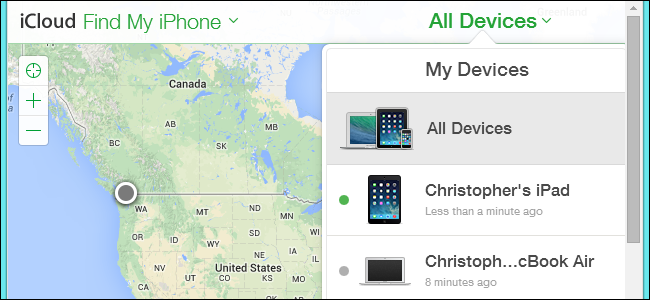
- 3 At the top of the screen, there is an All Devices option, click this, then identify your disabled device.
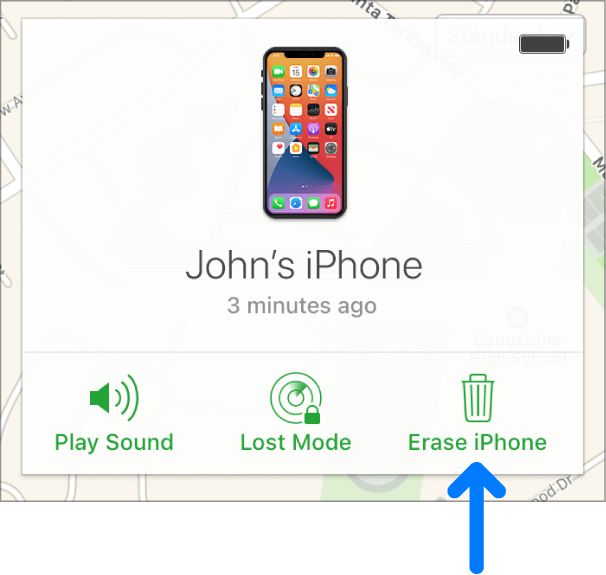
- 4 Select Erase, and then confirm your action.
- 5 Authenticate your device by entering your Apple ID password. This would cause your device to start up anew. You can proceed to set up your device and restore it from your last backup.
2. Resolve "iPhone Disabled Connect to iTunes" Error Message with Umendit
Umendit is an all-in-one tool for professional iOS repair. This tool fixes any iOS issue without you suffering any data loss. It operates with a highly user-friendly interface which makes it easy for anyone to resolve issues for any iOS version. Furthermore, Umendit boasts of a high repair success rate and leaves users with no fear of malware infiltrating their devices. Follow these simple steps to fix your disabled iPhone in the twinkle of an eye:
Secure Download
- 1 Install and download Umendit on your computer. Select Standard Repair on the primary interface.
- 2 Connect your device to the computer using a suitable USB cable. As your iPhone now is disabled and can not be automatically detected, you need to follow the on-screen instructions and put your iPhone into Recovery/DFU Mode.
- 3 Umendit will shows all the suitable firmware for your device. Just select the appropriate one and click Next to download the firmware.
- 4 After the firmware has been downloaded, you will see the Start option on the screen. Select it and wait patiently. After several minutes, the "iPhone is disabled" error will be fixed and your iPhone is up and running normally again.
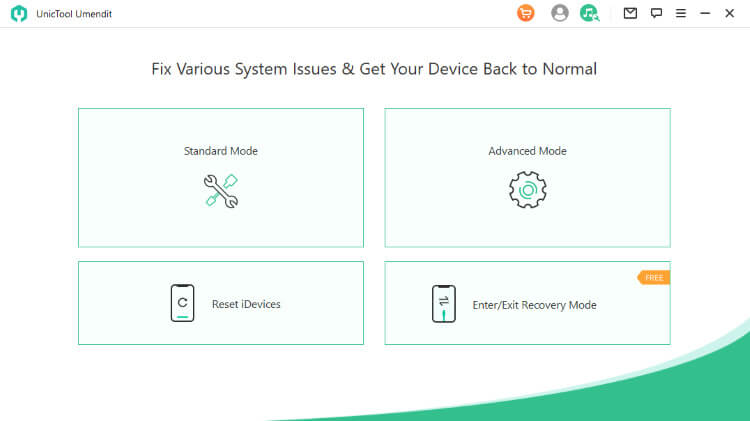
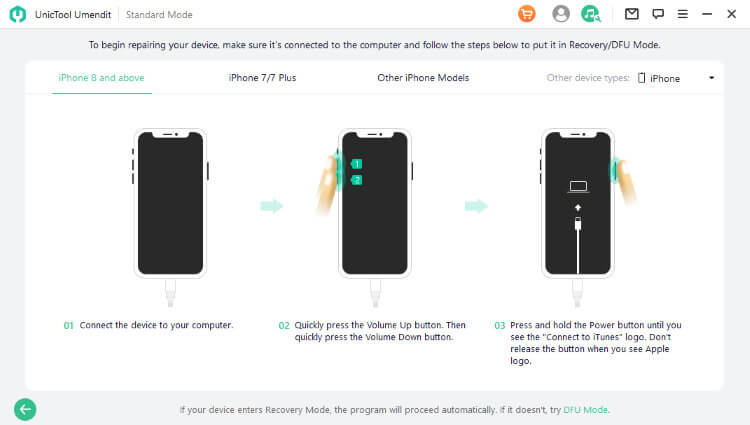
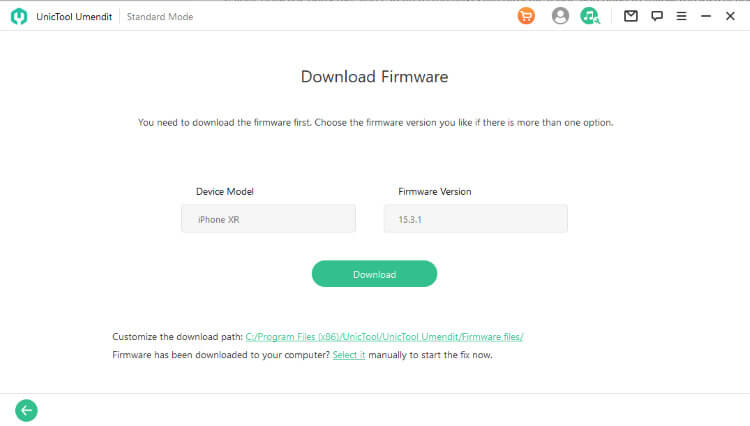
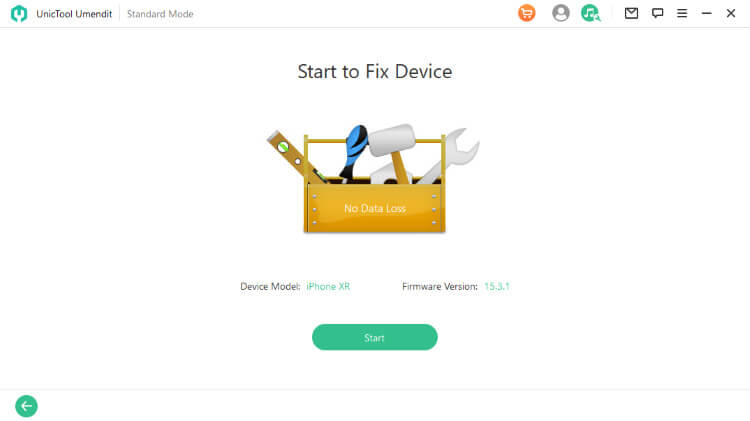
If Standard Repair can not solve the problem, you can try Advanced Repair, which is more powerful with the price of data loss.
3. Fix Disabled iPhone Using Recovery Mode
The Recovery Mode feature is a means that can assist you to fix disabled iPhone with no stress. However, this method will lead to data loss, thus you need to think carefully if you have no backup before. In this part, we reveal to you how to fix disabled iPhone using Recovery Mode. All you require is a computer and an original USB cable. Ensure the latest version of iTunes is installed on your computer. To set your device in Recovery Mode varies with different iPhone generation.
For iPhone 8 and later:
- Press and hold the Side button and one of the volume buttons simultaneously until power off slider surfaces. Then drag the slider to switch off your iPhone.
- Hold the Side button on your device as you connect your iPhone to your PC using a USB cable.
- Keep holding the Side button until the Recovery Mode screen appears.
For iPhone 7, iPhone 7 Plus:
- Connect you iPhone with the computer using a USB cable.
- Press and hold the Volume Down button and Side button at the same time.
- Keep doing this until the Recovery Mode screen appears.
For iPhone 6s and earlier:
- Press and hold the Home and Side buttons until the power off slider appears. Turn off your iPhone by dragging the slider.
- Connect your device to your computer while holding the Home button. Keep holding the Home button until the Recovery Mode screen appears.
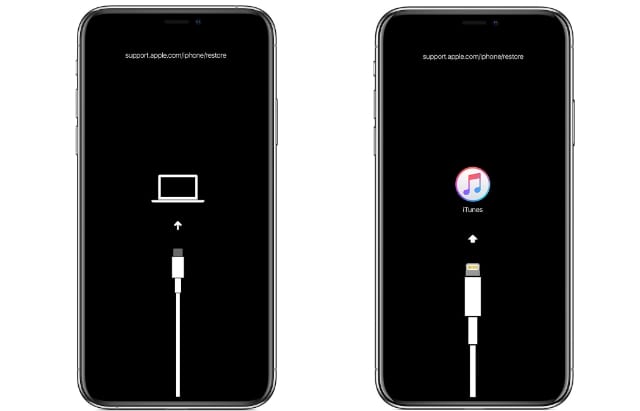
Once your device has been successfully put in Recovery Mode, you can see a pop-up window with Update and Restore options, choose Restore and confirm your action.
4. Go to Apple Store
If all the aforementioned means fail to fix disabled iPhone problems, visit the Apple store near you for technical advice and solutions.
Conclusion
Being locked out of your iPhone and unable to access its functions can be quite unsettling. We have provided the above options to help you fix a disabled iPhone. Feel free to go for any which works excellently for your device or visit the nearest Apple store near you for advice. Here, we strongly recommend the Umendit system repair tool, which can solve the issue without data loss and you can finish it all by yourself at home. Just download and give it a try!
Secure Download
