
The excitement of a new iOS update can sometimes be dampened by the frustrating experience of a slower iPhone. If you find yourself wondering why your iPhone is running slow after updating to iOS 17, rest assured that there are several effective techniques to troubleshoot and resolve this issue. In this article, we'll guide you through the why and how of fixing your sluggish iPhone.

Part 1. Understanding the Issue
Before diving into solutions, it's important to understand why your iPhone might be running slower after updating to iOS 17. New software updates often introduce advanced features and enhanced visuals, which can demand more resources from your device. Older iPhone models might struggle to keep up with these demands, resulting in a noticeable slowdown.
Additionally, background processes, app compatibilityissues, and storage constraints can all contribute to performance degradation. The above is not an exhaustive list of reasons for iPhone running slow on iOS 17. Remember, the solutions you need depend on the specific issue you're encountering.
Part 2. Nine Ways to Fix iPhone Running Slow After iOS 17 Update
1. Clear Background Apps
Running multiple apps in the background can eat up valuable memory and processing power.
Double-press the home button (or swipe up from the bottom of the screen on iPhone models without a home button) to access the App Switcher. Swipe away unnecessary apps to free up system resources.

2. Manage Storage
A cluttered iPhone can lead to slower performance.
Head to Settings > General > iPhone Storage to review which apps are consuming the most space. Delete apps, photos, and files you no longer need to create more breathing room.

3. Update All Apps
Outdated apps can sometimes clash with iOS 17, causing performance issues.
To ensure compatibility, update all your apps from the App Store. Developers often release updates that include optimizations for the latest iOS version.

4. Clear Safari Cache and History
A bloated Safari cache can slow down browsing performance. Open Settings > Safari > Clear History and Website Data to give your browser a fresh start.

5. Reduce Motion and Transparency Effects
iOS 17's visual effects might be too much for older iPhones to handle. Reduce the load by going to Settings > Accessibility > Motion > Reduce Motion and Settings > Accessibility > Display & Text Size > Reduce Transparency.

6. Restart Your iPhone
A simple restart can often resolve temporary glitches or bugs that are causing slowdowns. Hold down the Power button and slide to power off, then turn your iPhone back on.
7. Reset All Settings
Sometimes, a misconfigured setting can cause performance issues. Resetting all settings won't erase your data, but it will revert personalized settings to their defaults.
Find this option in Settings > General > Reset > Reset All Settings.

8. Check Battery Health
If your iPhone's battery health is degraded, it might not deliver the necessary power for optimal performance. Go to Settings > Battery > Battery Health to assess your battery's condition. If necessary, consider getting your battery replaced by Apple.

9. Consider Downgrading
If all else fails and your iPhone remains unbearably slow, you might consider downgrading to a previous iOS version if it's still signed by Apple. Keep in mind that this isn't recommended unless you're confident in the process, as downgrading can have its own risks.

People also ask: How to Downgrade iOS 17 Beta to Older iOS 16 Without Data Loss
Bonus: Fix Face ID Not Working After iOS 17 Updating
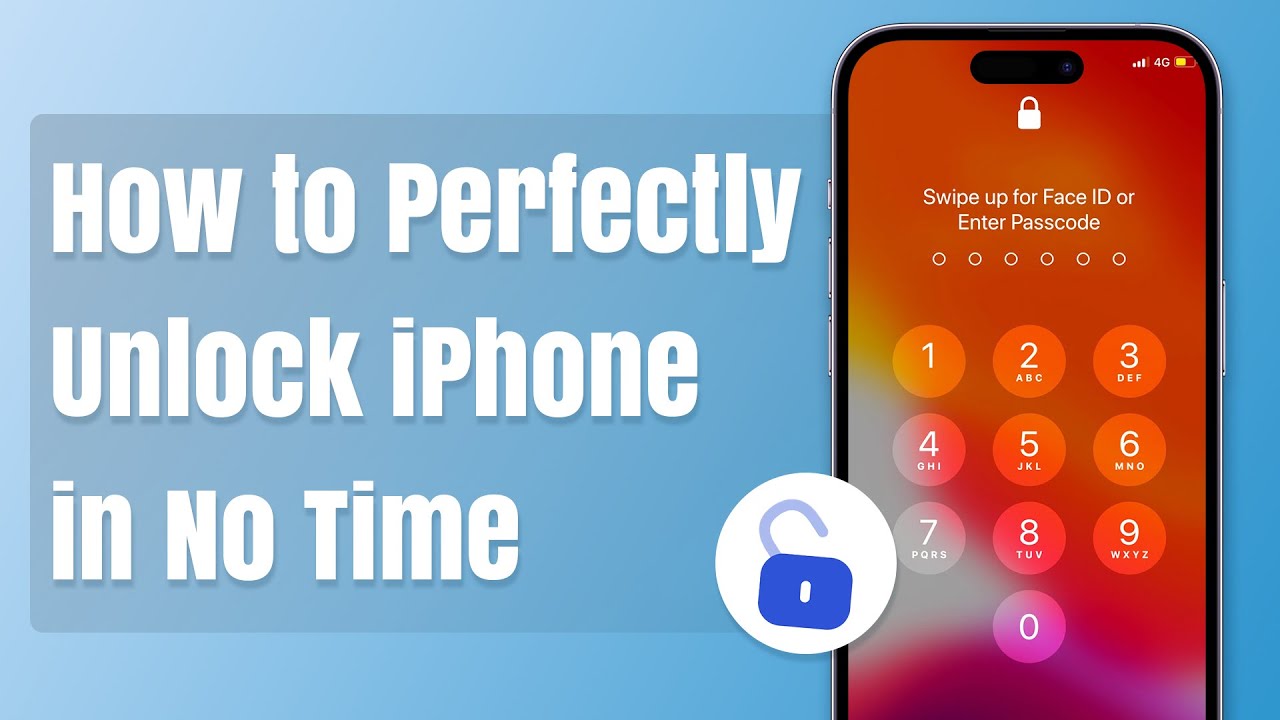
No need to worry if your iPhone's Face ID not working after updating to iOS 17. LockEraser is a user-friendly and effective tool designed to address not only the Face ID problem but also to unlock Apple ID, screen time passcodes, and even bypass MDM locks. Using LockEraser, iPhone’s "Face ID not working" issue can be resolved with the simple, direct, and easy steps.
The reason LockEraser delivers a secure and efficient experience in removing your Face ID lies in its comprehensive features and capabilities for iPhone restoration when Face ID is unresponsive. The trial version serves as a testament to its performance before making a purchase. Let try it now!
- Unlock your iPhone/iPad in any scenario without any passcode.
- Allow users to remove Apple ID without a password.
- Bypass the MDM activation screen and remove the MDM profile.
- Effective, easy and convenient for every user, requiring no technical knowledge.
- Support all iOS versions and devices including iOS 17 and iPhone 15 models.
- Offer a free trial version for new users.
Secure Download
The 3 simple steps with this tool are what will unlock your iPhone.
- 1Download, install and launch LockEraser on your computer. Select "Unlock Screen Passcode" mode.
- 2Choose the firmware version provided based on your device model and click "Download". Then wait a few minutes for LockEraser to download and verify the firmware package.
- 3When the extraction is completed, click the "Unlock" button. When the unlocking work is done, you will see the notification on the screen.


Conclusion
Experiencing a slow iPhone after updating to iOS 17 can be frustrating, but with the techniques outlined above, you can effectively troubleshoot and resolve the issue. If the problem persists, don't hesitate to seek assistance from LockEraser to ensure a smooth and optimal iPhone experience with iOS 17.
Secure Download