Touch ID enables you to log in to apps, make purchases from the App Store and transact on Apple Pay. A simple finger touch enables all these on the sensor for biometric confirmation. It is always satisfying if the spec is seamless and utile.
However, in instances that this feature isn't working, and you have tried all your hacks to no success, there is a high probability that all Apple products will turn you off out of frustration. We don't want that. So, there are several ways to fix Touch ID not working issue on your device, ultimately enhancing its operational efficiency.
Part 1. Why is My Touch ID Not Working?
Part 2. How to Fix Touch ID Problems on My iPhone, iPod or iPad Touch?
- 1. Clean Your Finger and the Home Button
- 2. Restart Your iPad or iPhone
- 3. Add New Fingerprints
- 4. Re-enable the Touch ID Features
- 5. Updating IOS or iPadOS Version
- 6. Factory Resetting Your iPad or iPhone
Bonus: How to unlock iPhone/iPad/iPod Touch without Touch ID/Passcode
Part 1.Why is My Touch ID Not Working?
There are various factors that can lead to the Touch ID not working issue. While it's uncommon, manufacturing defects can sometimes be the cause. In such cases, there's no need to blame yourself. This section outlines these troubleshooting methods, in addition to exploring potential reasons for your Touch ID not working.
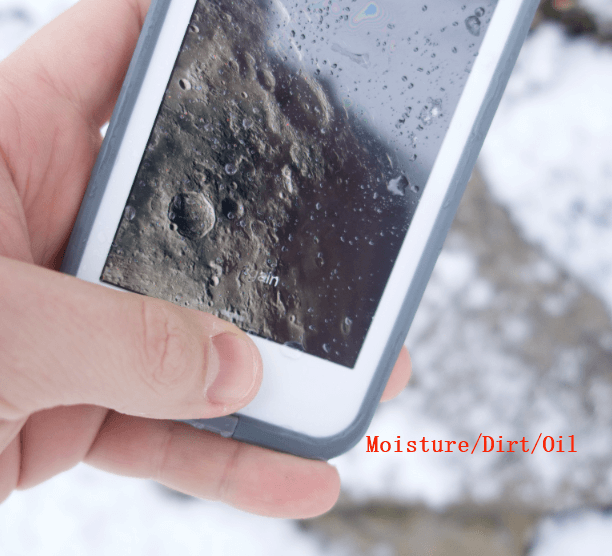
1. Physical Factors: Moisture, Dirt, and Oil
2. Connection and Configuration Issues
By meticulously addressing these potential causes, you can significantly enhance the chances of fixing your Touch ID not working issue and optimizing its performance.
Part 2. How to Fix Touch ID Problems on My iPhone, iPod or iPad Touch?
Several things should be right for Touch ID to work seamlessly. Just one of the components being off can cause or intensify the problem. Then solution involves beginning troubleshooting simple items as you advance to complex ones. Notably, you need to test your device after each step to see if it works, and only move to the next step if it isn't working.
1. Clean Your Finger and the Home Button
Use a lint-free piece of clothing to clean both the finger and the fingerprint reader. Note that anything as minor as a tiny bit of sweat or water can interfere with the sensor working of your iPad, iPhone or iPod Touch in reading the fingerprint. If you have dirt on your "Home" button, clean it repeatedly and ensure that almost everything is cleared.

2. Restart Your iPad or iPhone
To implement this technique, simultaneously press and hold the On/Off buttons for a few seconds. This action will initiate the powering up of your iPad or iPhone. If the device is already on, a prompt will appear asking if you want to Restart or Power Off.
Restarting your device, also called power cycling involves switching off and then back on your device to refresh it. This process performs a network data refresh as well as a setting refresh. As processes stopped, some cache was deleted enabling your Touch ID to work. If this fails, move to the next step.

3. Add New Fingerprints
Adding your fingerprint is done via a simple procedure, and here is how to go about it.
- Step 1. Simultaneously long-press the Volume Up and Volume Down buttons until iPhone enters the Recovery Mode.
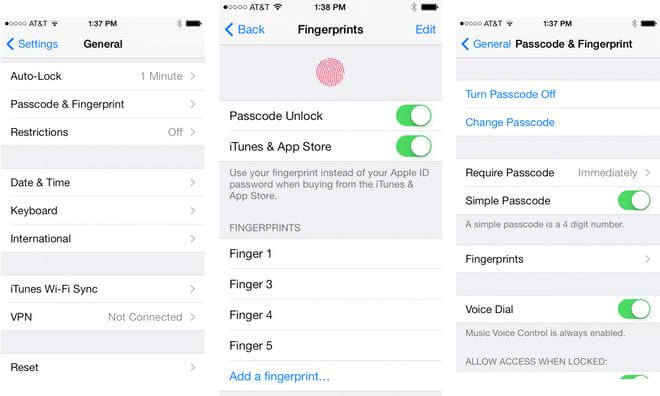
- Step 2. Tap Add Fingerprint immediately after you have typed your passcode. Your device will prompt you to add a fingerprint. Go to the Home button and press it with your desired finger. Do this several times. Repeat until the whole scan of the fingerprint is displayed on the screen.
Upon registering your new fingerprint, you will realize that it is listed as finger one or finger two. If you need to change the fingerprint, tap on the one you wish to remove, followed by the delete button.
4. Re-enable the Touch ID Features
To re-enable Touch ID, perform a hard reboot on your iPhone or iPad. A successful reboot can restore Touch ID functionality.
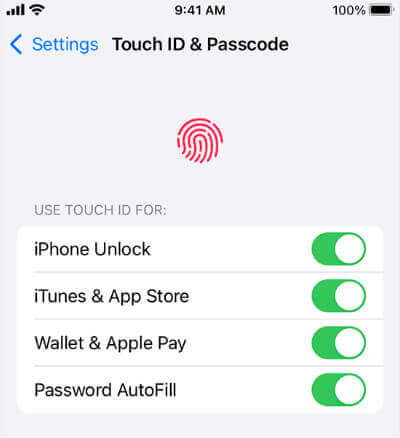
Navigate to Settings > Touch ID & Passcode. Disable all the available options in this section. Once you've completed this, restart your device, then re-enable all the necessary features.
5. Updating IOS or iPadOS Version
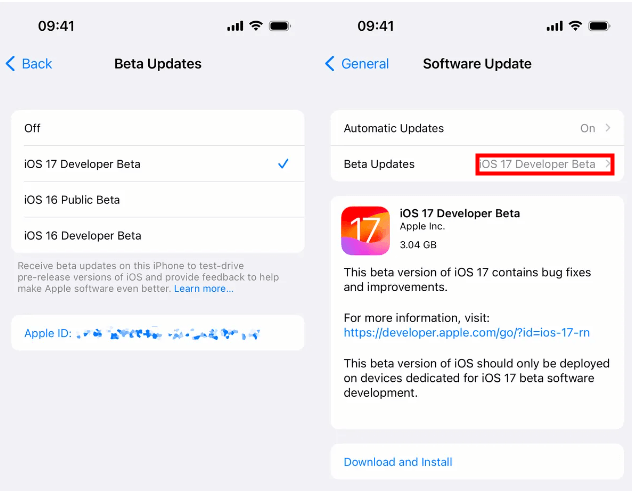
Updating your devices, such as iPads, iPhones, and iPods, to iOS 17 may resolve the Touch ID Not Working issue. Below is the process for backing up the device using a computer or iCloud.
- Step 1. Ensure that your iPhone or other device is plugged into power and well connected to either Wi-Fi-enabled internet.
- Step 2. Move to Settings > General > Software Update.
- Step 3. If you happen to note two software updates, go for the one you wish to install.
- Step 4. Tap the "Download and Install" button to initiate the update.
6. Factory Resetting Your iPad or iPhone
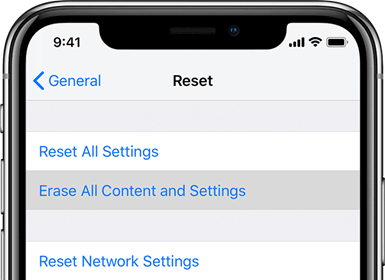
Although this reset erases your device's data and settings, it is the best rebooting reset. If you had synced your device and backed the data, you do not have a reason to worry. Restoring your device to the factory settings option is found in the phone's Settings > General > Transfer or Reset iPhone > Reset All Settings, and you can initiate it externally using a PC.
You could use iTunes to restore your device. This can finish without necessarily needing a passcode. Since the process erases data and settings, you need to back this data to restore after erasing. There are two scenarios to consider whether you have iTunes already synced with your device or not.
Bonus:How to Unlock iPhone/iPad/iPod without Touch ID/Passcode?
Touch ID is not working? Forgot your lock screen password again? Don't worry. LockEraser is a user-friendly and effective tool designed to address not only the Touch ID problem but also to unlock Apple ID, screen time passcodes, and even bypass MDM locks. Using LockEraser, iPhone’s "Touch ID Not Working" issue can be resolved with the simple, direct, and easy steps.
- Unlock your iPhone/iPad in any scenario without any passcode.
- Allow users to remove Apple ID without a password.
- Bypass the Face ID and Touch ID without passcode.
- Effective, easy and convenient for every user, requiring no technical knowledge.
- Support all iOS versions and devices including iOS 17 and iPhone 15 models.
- Offer a free trial version for new users.
Secure Download
Using LockEraser to Fixed Touch ID Not Working
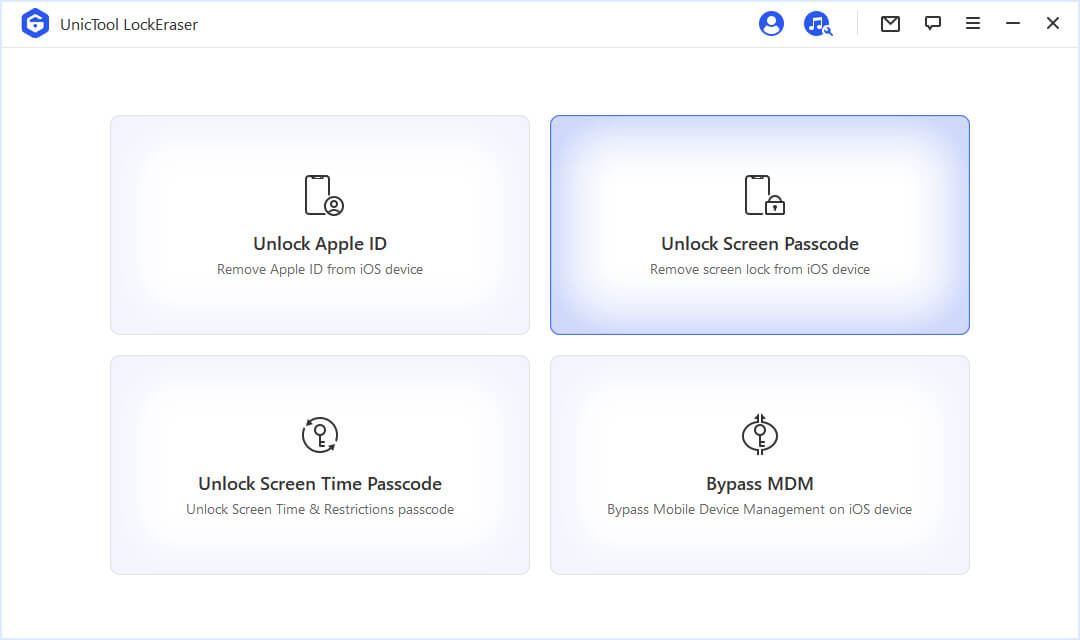
- 1 Download, install and launch LockEraser on your computer. Select "Unlock Screen Passcode" mode.
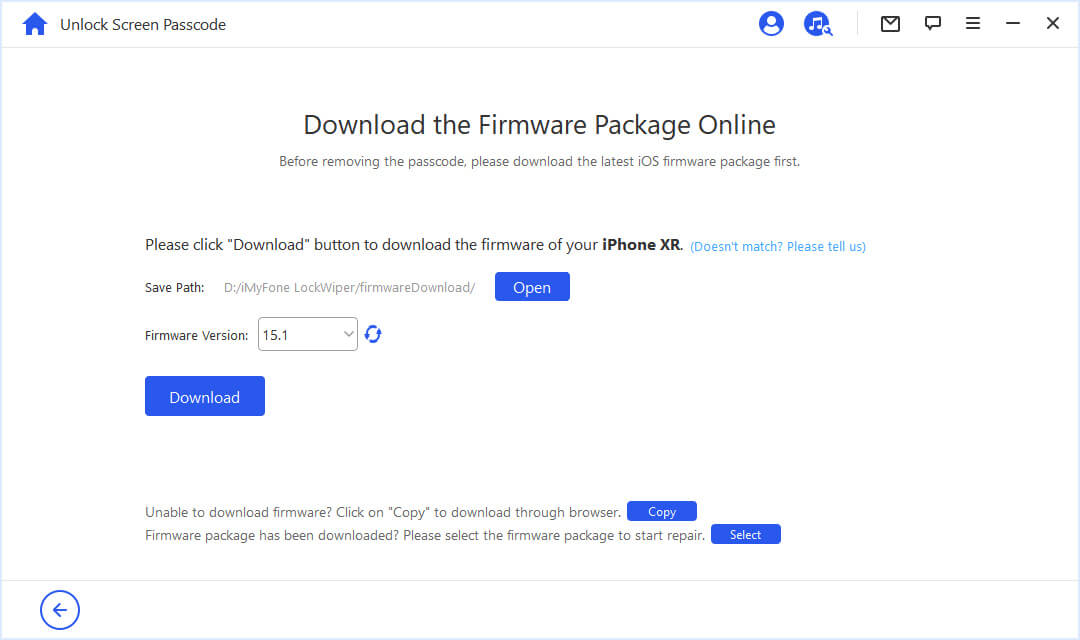
- 2 Choose the firmware version provided based on your device model and click "Download". Then wait a few minutes for LockEraser to download and verify the firmware package.
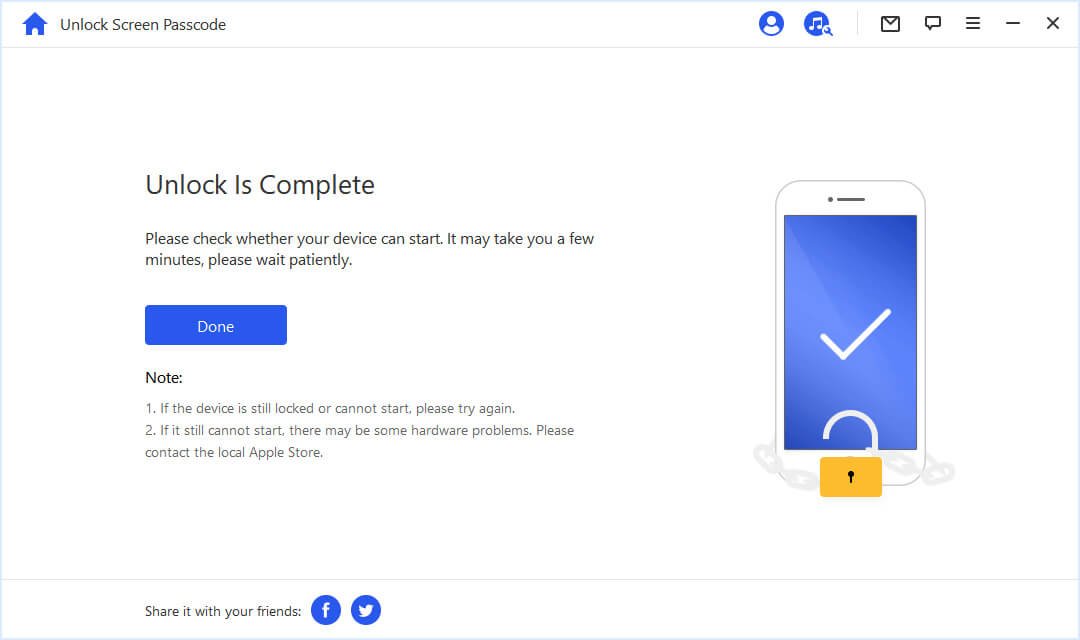
- 3 When the extraction is completed, click the "Unlock" button. When the unlocking work is done, you will see the notification on the screen.
Conclusion
As pointed out earlier, Touch ID Not Working issue can be frustrating, especially when you need to use your iPad, iPhone, or iPod urgently. The good news is that you now know how to fix Touch ID Not Working issue for free and have a professional tool LockEraser for that. With just one tap, you have a quick and reliable solution for various problems in the palm of your hand. Next time your device bothers you with this issue, you know where to get help.
Secure Download

