Apple has introduced several new accessibility features and apps aimed at enhancing the user experience, particularly for individuals with disabilities. One such feature is "Personal Voice," which allows users to save and utilize a distinct voice for Siri, VoiceOver, and other applications that rely on live speech. However, some users have encountered an issue that how to use ios 17 personal voice and ios 17 personal voice not showing . If you're facing this problem, there's no need to worry. You can easily resolve this issue by following the methods outlined in this article.
Part 1. What does Personal Voice do in iOS 17?
Part 2. Kind tips: Make Sure Activate Personal Voice on iOS 17
Part 3.Reasons for My Personal Voice Not Showing in iOS 17
Part 1. Info Of iOS 17 Voicemail
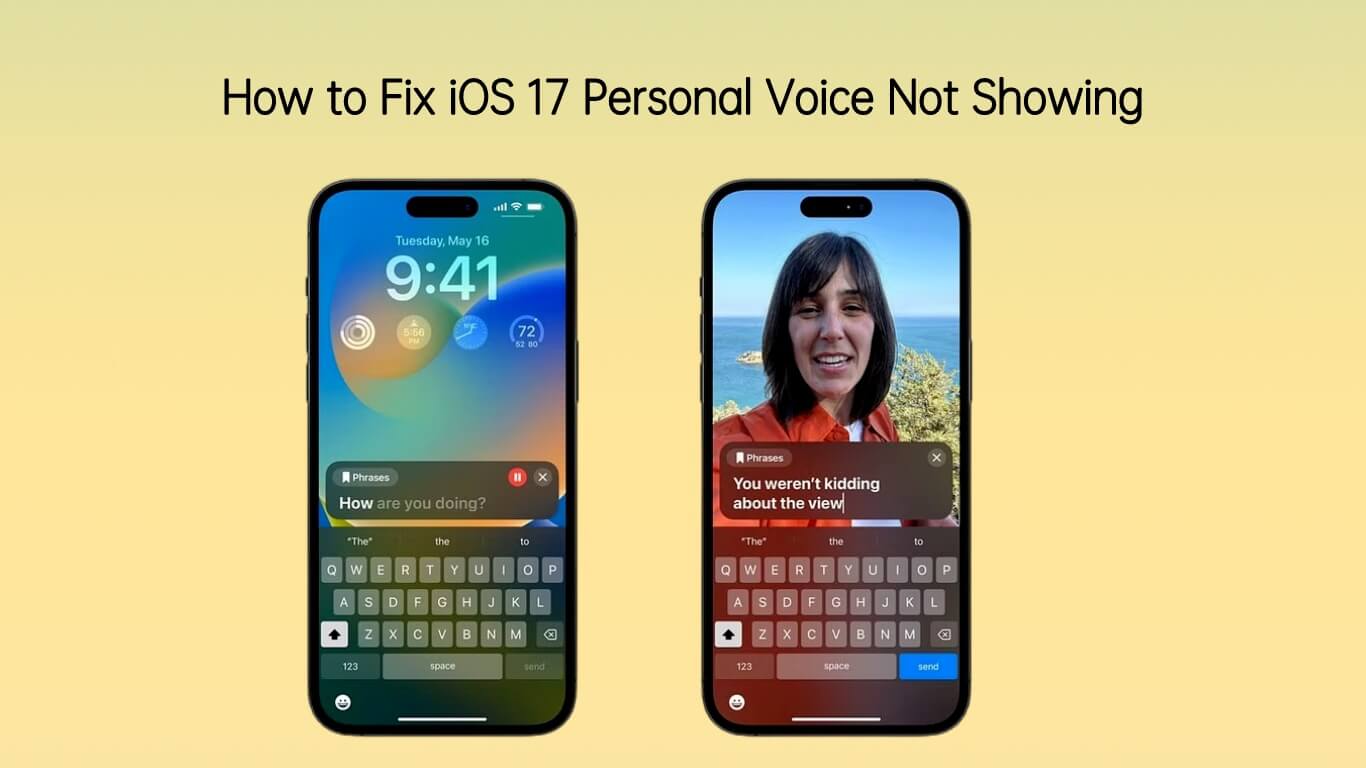
In iOS 17, Apple has introduced a feature that enables users to create a Personal Voice. When used alongside Live Speech, this feature aids users in communicating with others by reading out text and phrases. Here's a quick guide on how to set it up and our experience with it.
Personal Voice is truly remarkable. In just 15 minutes of dictation, your iPhone can generate a digital replica of your voice. This process is carried out locally on your device and is kept secure through encryption.
It's important to note that this feature doesn't replace Siri's voice with your own. Instead, it serves as a valuable tool for individuals who may have difficulty speaking. It allows them to hear their own voice again and enhances their ability to communicate effectively with others.
Part 2. Kind tips: Make Sure Activate Personal Voice on iOS 17
Knowing what is iOS 17 Personal Voice, you maybe want to know how to use personal voice in ios 17. Looke carefully steps mentioned before can easily help you to fix this problem.
1. How to set up Personal Voice on iOS 17?
Before you start creating your voice clone, find a relatively quiet place where you won't be disturbed for about 30 minutes. You don't need complete silence, but it's best to minimize background noises to ensure your cloned voice sounds good.
Here's how to set it up on your iPhone running iOS 17:
- 1 Open your iPhone's Settings. Scroll down and tap on "Accessibility."
- 2 Select "Personal Voice" and tap "Create a Personal Voice" at the top. Press the blue "Continue" button twice.
- 3 Give your voice clone a name. Tap the record button and start reading the phrases displayed on the screen. You'll need to read out loud 150 phrases, which vary in length. When you see "Listening" at the bottom of the page, you can start speaking. The Personal Voice will automatically move to the next phrase without needing you to tap anything.
If you make a mistake, use the record button to re-record the phrase. It should take you around 20 to 30 minutes to complete all the phrases, depending on your speaking speed. Once you've finished, tap "Continue," and the process of creating your Personal Voice will begin. To complete this process, connect your iPhone to a charger and lock your screen. You'll receive a notification when your Personal Voice is ready to use. Keep in mind that the time it takes to process may vary, and since iOS 17 is in beta, there could be some bugs or issues with Personal Voice.
2. How to Use Personal Voice in iOS 17?
Once you've received the notification that your Personal Voice is ready for use, you can easily test it out. Follow these steps:
- 1 Open your iPhone's Settings. Scroll down and tap on "Accessibility." In the "Live Speech" section, enable the Live Speech feature at the top of the page.
- 2 Now, go to the "Voices" section and select your Personal Voice, which should be at the top. To use your Personal Voice: Triple-click the side button on your iPhone>Choose "Live Speech" from the options.> Type the phrase you want your iPhone to speak in your own voice using the keyboard.>Tap "Send," and your iPhone will speak the typed phrase in your cloned voice. You can use this feature during phone calls or FaceTime conversations.
If you have favorite phrases you frequently use, you can add them to the "Favorite Phrases" section in Settings > Accessibility > Live Speech. This way, you won't need to type them out each time. Simply tap the "Phrases" button in Live Speech, and your saved phrases will be readily available for use.
Part 3. Reasons for My Personal Voice Not Showing in iOS 17
If you find that your Ios 17 personal voice not available in Live Speech, there are several potential reasons for this issue:
- Background Noise: During the setup of Personal Voice, ensure that there are no significant background noises, as they can disrupt the recording process.
- Uncovered Microphone: Ensure that the microphone on your device is not obstructed or covered, as this can impact the quality of the recording.
- Insufficient Storage: If your device is running low on storage space, it may struggle to process features like Personal Voice in Live Speech. Make sure you have enough available storage.
- Software Bugs: Sometimes, issues like this can be attributed to software bugs, which are more common in new iOS updates. Keep an eye out for software updates that may address these bugs.
- Regional Restrictions: Certain features, including Personal Voice, may be subject to regional restrictions. Ensure that your device's region settings are compatible with the feature.
Part 4. Top Ways to Fix iOS 17 Personal Voice Not Showing
1. Use a Repair Tool
If you've encountered the issue of Personal Voice not displaying on iOS 17, and standard troubleshooting methods have not provided a solution, it's time to consider a more comprehensive approach. One highly effective solution is to use UnicTool iFinidt, a professional iOS system repair tool. Here's how it can help resolve the problem:
UnicTool iFindit:A One-Stop Data Recovery
- Easy Downgrade from iOS 17: You can effortlessly downgrade your iOS version from iOS 17 without needing to use iTunes.
- Recovery Mode Management: It provides a straightforward way to enter and exit recovery Mode on iPhone, iPad, and iPod Touch devices.
- Fixing iOS System Issues: UnicTool iFindit iOS System Repair can resolve over 150 iOS system problems, including issues like the Apple logo being stuck, reboot loops, and black screens, all without risking any data loss.
75,103 downloads
100% secure
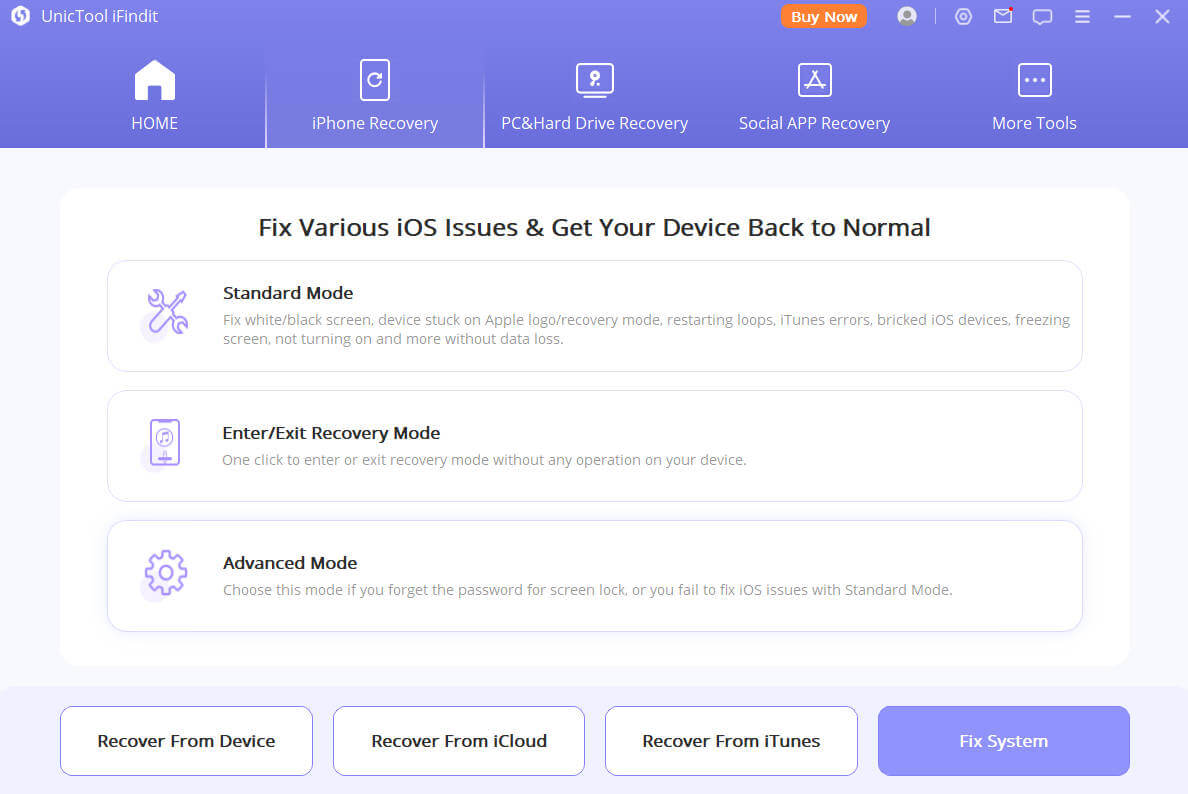
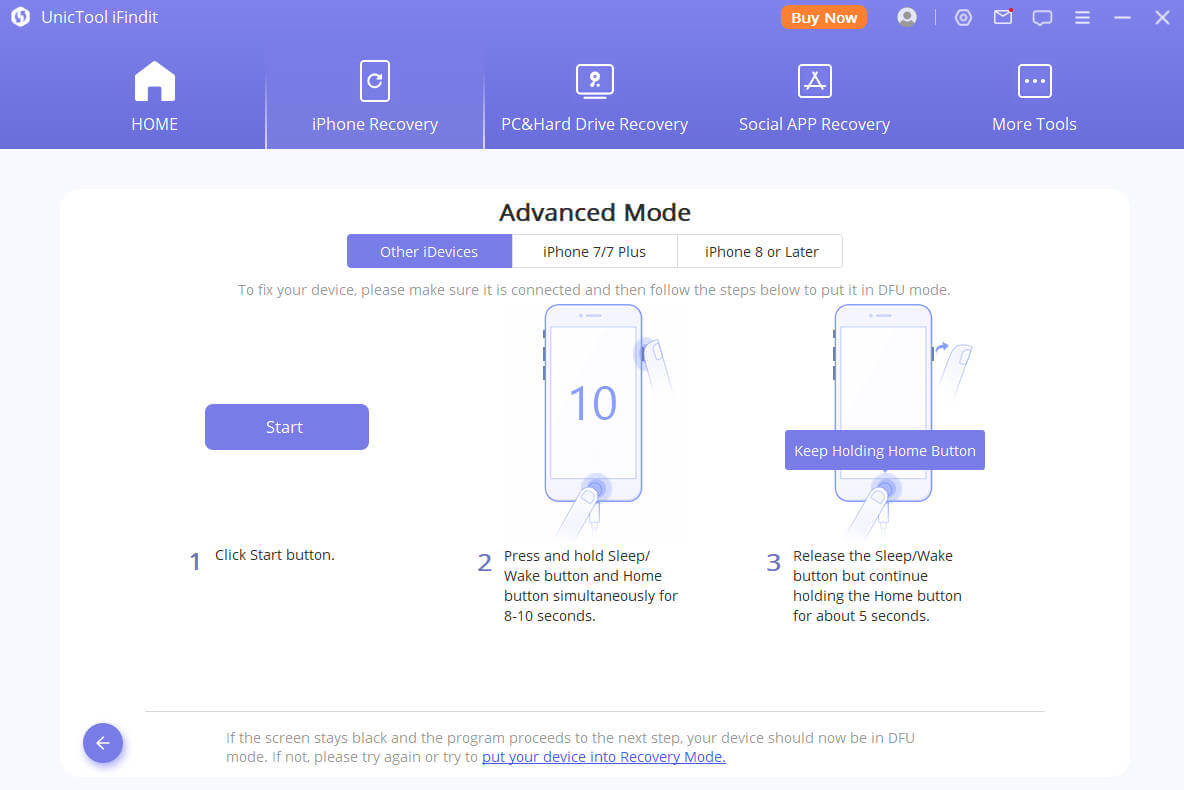
Step 1: Download Ifindit on your PC and select “Fix iOS System” and then choose “Advanced Mode”.
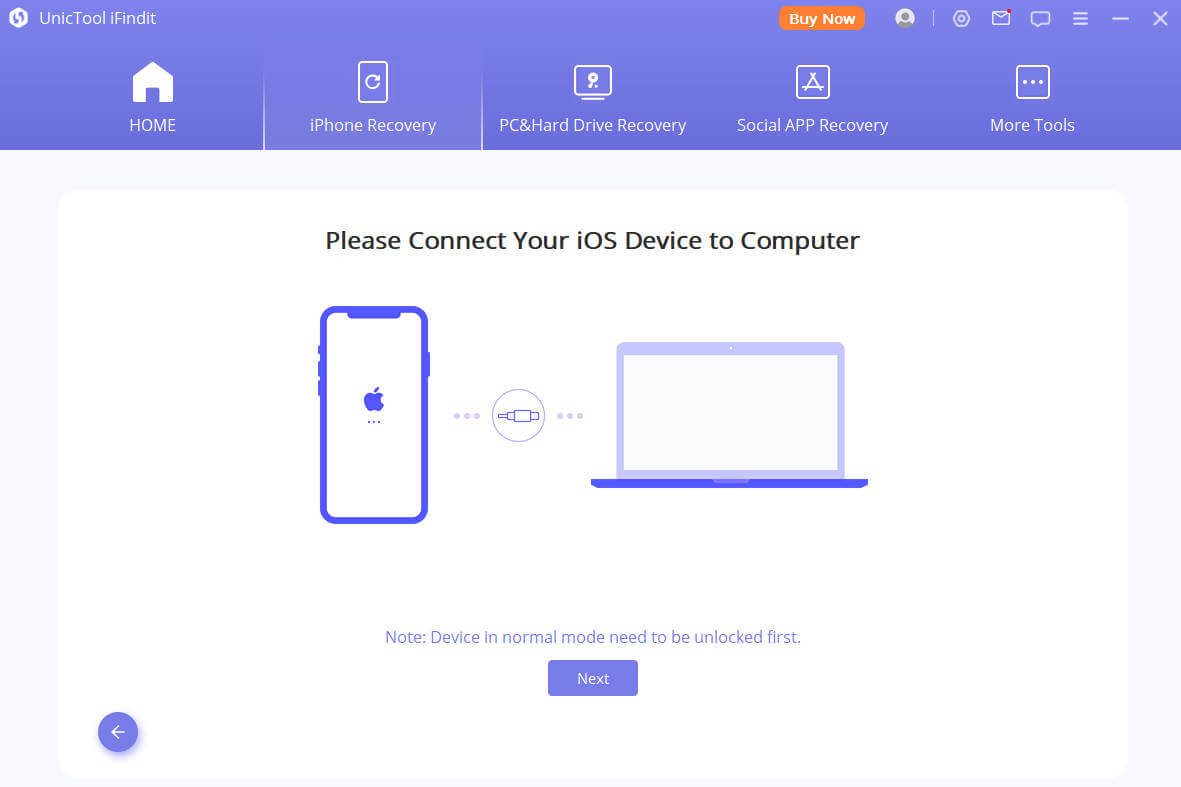
Step 2:Connect your iPhone to the computer with a USB cable. Click on “Next”.
Secure Download
Step 3: Ifindit will detect your device automatically and recommend the appropriate version for you. Then tap on Start to Fix to proceed.
2. Review Microphone Settings
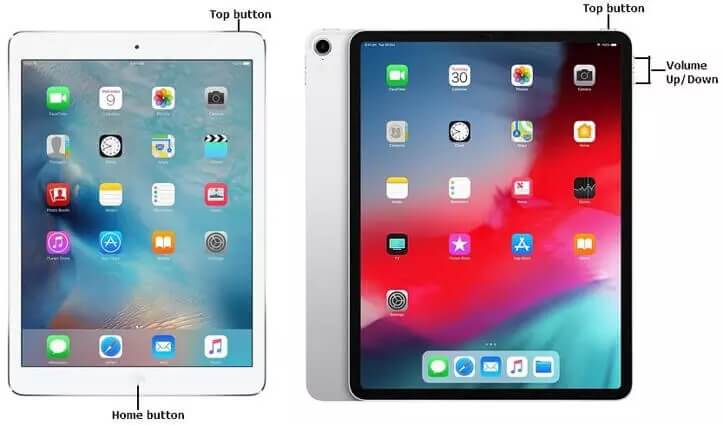
Make sure your device's microphone settings are turned on and working properly. Personal Voice relies on the microphone to record and create voice data
3. Re-enable Personal Voice
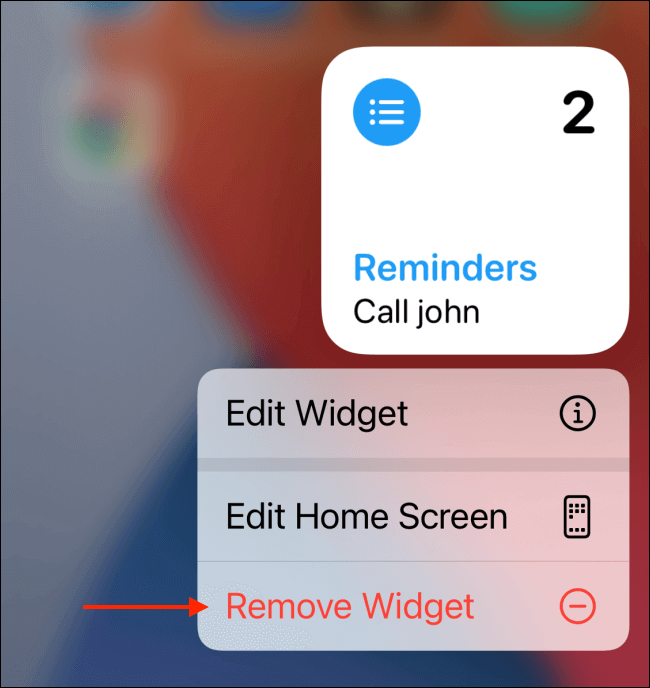
Navigate to your iPhone's Settings, then tap on "Accessibility." Afterward, choose "Spoken Content" and locate "Personal Voice." Temporarily disable the feature, wait a few seconds, and then proceed to re-enable it. This approach may sometimes assist in jumpstarting the Personal Voice generation process.
4. Be Patient with Personal Voice Generation
Once you've enabled Personal Voice, it's important to note that the feature may require some time to generate your personalized voice. Practice patience and allow the process to complete at its own pace.
5. Force Close Settings App and Reopen
Force close the Settings app and then reopen it. Occasionally, restarting the Settings app can resolve minor glitches that may impact features like Personal Voice.
6. Temporary Region Change to the United States
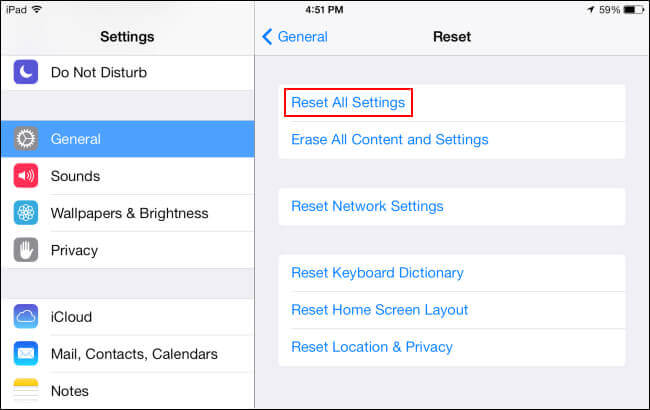
Personal Voice functionality can be region-specific, and changing your device's region settings to the United States has reportedly resolved this issue for some users. To do this, follow these steps:
- 1 Go to your iPhone's "Settings." Select "General."
- 2 Tap on "Language & Region." Under "Region," choose "United States."
- 3 After making this change, restart your device. Check to see if Personal Voice now displays as expected.
Part 5. FAQ about Personal Voice iOS 17
What can personal voice be used for?
In iOS 17, Apple introduced a feature that enables users to create a Personal Voice. When used alongside Live Speech, this feature aids users in communicating with others by reading out text and phrases.
Why do we use personal voice?
By preserving a digital replica of their voice, individuals can continue to communicate verbally in the future, even if they lose the ability to use their physical voice. It's also beneficial for those facing speech challenges or difficulties in speaking consistently.
Conclusion
In summary, iOS 17 brings forth the remarkable Personal Voice feature, specifically designed to aid individuals coping with speech difficulties, including those affected by conditions like ALS. This groundbreaking feature empowers users to retain their voices, ensuring effective communication even when faced with speech challenges.
Nonetheless, if you come across the problem of Personal Voice not appearing in iOS 17, there's no need to worry. We've delved into the possible causes, ranging from microphone settings to regional limitations. Furthermore, we've presented a dependable solution.

UnicTool iFindit:A One-Stop Data Recovery
- Supports 1000+ files format&500+ recovery scenarios.
75,103 downloads
100% secure
